Removing Painted Brick Indoors Without Scarring the Original Face
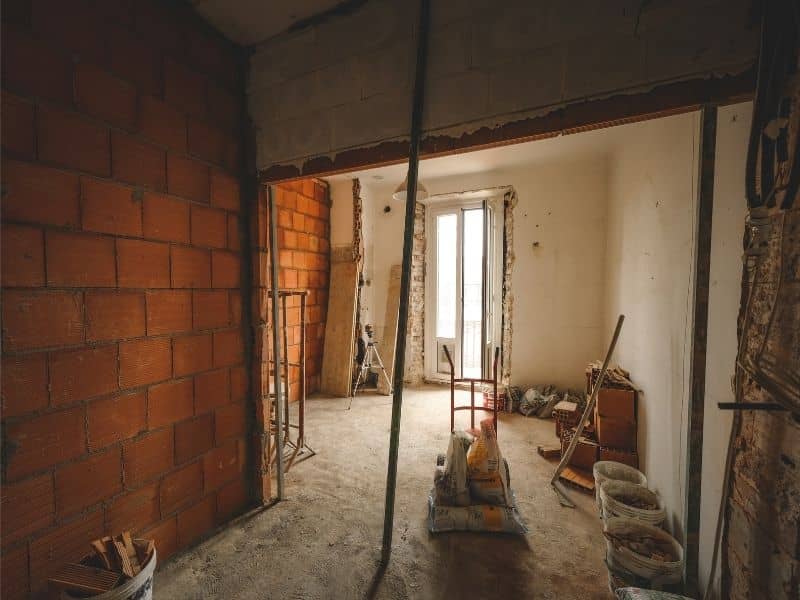
Painted brick shows up in a lot of older homes. Someone painted over it decades ago, and now a new owner wants that brick back. The problem is that paint removal can do more harm than the paint ever did. Done wrong, it scars the brick face for good. Done right, it brings the original material back without wrecking it.
Assess the Original Brick Face Beneath the Paint
Before any stripping starts, look at what you’re actually working with. Old interior brick isn’t all the same. Some bricks were fired soft and porous. Others are dense and hard. Age matters too. A fireplace wall from the 1920s can react very differently to a stripping agent than brick from a 1960s addition.
Check for soft spots, chips, or crumbling mortar joints first. If the brick face already feels weak under light pressure, aggressive paint removal will make that worse fast. The goal isn’t to strip every wall down to bare brick no matter what. It’s to figure out how much of that original face can come through safely, and where you should stop.
Check Older Painted Brick for Lead Before Disturbance
If your home was built before 1978, assume the paint on that brick could contain lead until you know otherwise. This isn’t a small detail. Scraping, sanding, or heating old paint can release dust that’s dangerous to breathe, especially for kids and pregnant women in the house.
The EPA recommends testing painted surfaces in older homes before you disturb them, and using lead-safe work practices if lead is present. That can mean containing the work area, using wet methods to keep dust down, and cleaning up with HEPA vacuums instead of a broom. Skipping this step to save time isn’t worth the risk to your family’s health.
Test Paint Removal on a Concealed Brick Area
Once you know what you’re dealing with, don’t jump straight to the whole wall. Pick a small spot that won’t be seen, like behind a bookshelf or low near the floor, and test your method there first.
This step tells you a lot. Paint often soaks deep into brick pores over the years, and you won’t know how deep until you try to pull it out. A test patch shows whether the stripper you picked actually works, or whether it needs more time to sit. It also shows if the process changes the brick’s color or leaves it looking patchy. Preservation guidance from the General Services Administration points to test patches for this exact reason. They help you find the gentlest method that still gets the job done, before you commit to an entire fireplace or chimney breast.
Remove Painted Brick Without Grinding Away Its Face
This is the part where most damage happens. The goal is removing the paint, not removing a layer of the brick along with it. That distinction matters more than people think.
Grinding, sandblasting, and high-pressure washing all seem like fast fixes. They’re also the fastest way to ruin old brick. These methods chew into the surface, wear down mortar joints, and leave a rough, pitted look that can’t be undone. Once that face is gone, it’s gone. Preservation guidance is consistent on this point. Abrasive removal methods can permanently damage masonry surfaces and the mortar holding them together.
Chemical strippers made for masonry, applied in thin coats and given time to work, are usually the safer route. So are low-pressure methods paired with hand tools like soft brushes or wooden scrapers. It takes longer. It also leaves you with brick that still looks like brick when you’re done, not brick that’s been sanded down to a shadow of itself.
Evaluate the Exposed Brick Before Finishing the Renovation
After the paint is gone, don’t assume the job is finished. Walk the wall and look closely. Some spots may still hold a thin layer of old paint in the pores, especially in corners or along mortar lines. That’s common, and it’s not always worth chasing down.
Check the mortar joints too. Years under paint can hide weak spots, and stripping can expose crumbling or missing mortar that needs attention before you move forward. Look for chipped or thin areas on the brick face where more stripping would do damage instead of good.
This is also the point to decide where to stop. Not every square inch has to come back to bare brick. In a lot of historic home renovations, leaving a light stain or a small patch of old paint behind is the better call than pushing further and losing the original face underneath. A finished wall that keeps its character beats one that’s been stripped past the point of no return.