Brickmason Work for Blending New and Existing Brick
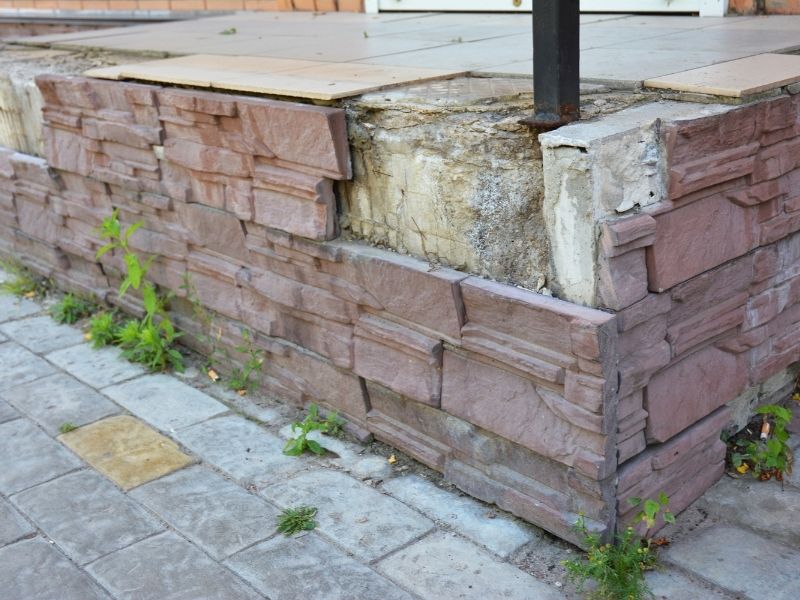
You can usually spot a poor brick match from the street. The new section is a shade too bright, the mortar lines look thicker, or the pattern stops at an awkward seam. On a home addition, a rebuilt wall, or a new outdoor kitchen that ties into the house, that mismatch can stand out for years.
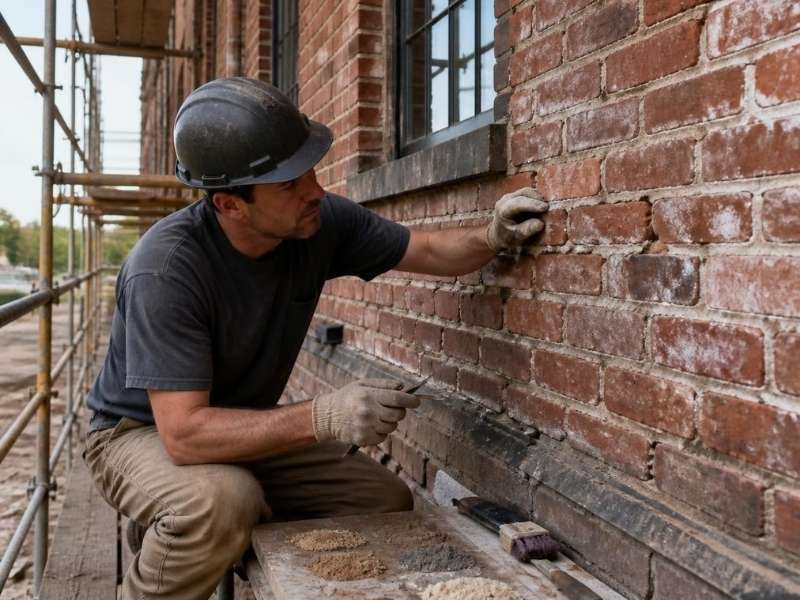
Blending new and existing brick takes more planning than ordering a similar color. A skilled brickmason looks at the brick, the mortar, the joint style, and the bond pattern together. Start with a close look at what you already have, test samples in person, and expect a short weathering period before the new work fully settles in.
Assessing Existing Brickwork Before Adding New Masonry
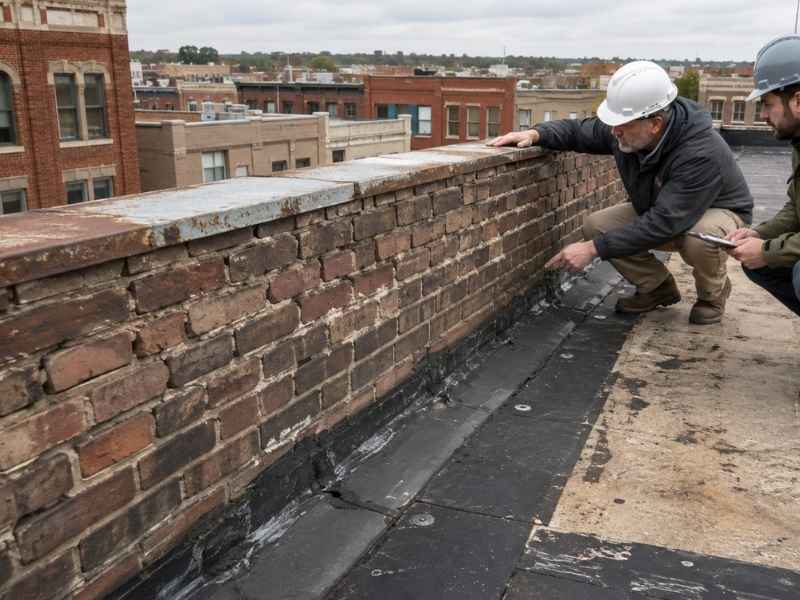
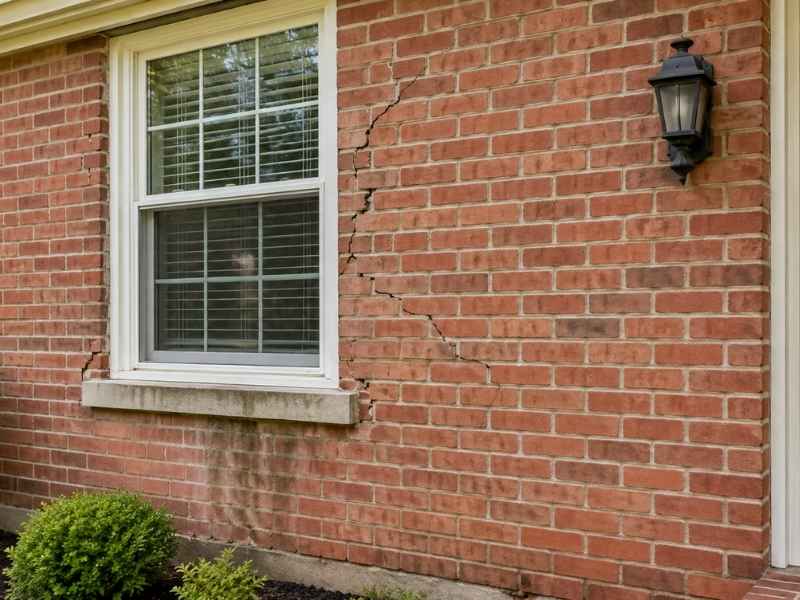
Every good match starts with the old wall. A brickmason checks the condition of the existing brick, the type of mortar, and any signs of moisture or movement. Cracked units, loose joints, or spalling, which is when the brick face flakes or pops off, should be fixed before new work ties in. Building onto damaged masonry only spreads the problem.
Cleaning a small test area helps too. Years of dirt, mildew, and weather can hide the true color of the brick and mortar. Comparing samples to both a cleaned spot and a weathered spot gives a better sense of how the finished blend will look.
Gather any records you have. Original plans, leftover bricks in the garage, or a manufacturer’s name stamped on a spare brick can save a lot of searching. If you plan to connect a brick patio, retaining wall, or outdoor fireplace to the house, mention it early so those tie-in points get checked as well.
Matching Brick Color, Texture, Size, and Finish
A good brick match covers color, texture, size, and finish. Color gets the most attention, but size differences are often the easiest to see. Brick comes in several standard sizes, and older homes may use units that no longer match current products. Even a small height difference throws off the coursing, which means the horizontal rows, right where new meets old.
Texture and finish matter up close. Brick faces can be smooth, wire-cut, sanded, or tumbled to look aged. A brick that matches in color but has a different surface will catch light differently and look slightly off.
Most brick has a natural color range, so a brickmason will often blend units from several pallets to mimic the variation in your wall. Common sources include:
- Current production brick from the same or a similar manufacturer
- Reclaimed brick from older buildings
- Brick taken from a hidden part of the home, such as a wall the addition will cover
Look at full-size samples outdoors in natural light, right next to the existing wall. Photos and small chips rarely tell the full story. Ask to see several bricks from different pallets so you can judge the color range.
Selecting Mortar That Complements the Existing Brickwork
Mortar has a big effect on how well a brick match reads. It covers a noticeable share of a wall’s face, so the wrong color or joint width stands out fast. Mortar color comes from the sand, the cement or lime, and any added pigment. A brickmason may mix test batches and let them cure before choosing, since mortar usually dries lighter than it looks when wet.
Strength matters as much as color. Older brick, especially on historic homes, was often laid with softer lime-based mortar. Pairing that brick with a much harder modern mortar can cause damage over time, because the brick ends up taking the stress and moisture the mortar should handle. The right mix depends on the brick’s age and type, the exposure, and the project design.
For larger or historic projects, some owners order a mortar analysis. A lab studies a sample of the existing mortar and reports what it’s made of. It adds time to the schedule, but it removes a lot of guesswork.
Blending Brick Patterns and Joints at Masonry Transitions
The transition is where a blend works or falls apart. The bond pattern, which is the way bricks are arranged in a wall, should carry through from old to new. Running bond, Flemish bond, and common bond each create a different look, and switching patterns at a seam draws the eye.
Joint profile needs to match too. Concave, flat, and raked joints each cast different shadows across the wall. Joint width matters just as much, since thin and thick joints change how the whole surface reads.
There are two main ways to connect new brick masonry to old. Toothing in means removing alternate bricks along the edge of the existing wall and weaving new bricks into the gaps, which helps hide the seam. A vertical joint, often a planned expansion joint, keeps the sections separate so they can move independently. The right method depends on the wall, the foundation, and the project design, and your brickmason can explain the tradeoffs.
Brickmason Techniques for Consistent Appearance and Long-Term Durability
Before the full job starts, ask for a sample panel. This is a small test section built with the chosen brick, mortar, and joint style, placed where you can view it beside the existing wall. Adjusting a sample is far easier than tearing out finished work.
Clean installation matters as well. Mortar smears and harsh acid cleaning can stain new brick and make it look different from the old. Many masons protect the work as they go and use cleaners suited to the specific brick.
Expect some change over time. New brick and mortar often look brighter at first and soften as they weather. In some cases, a mason may suggest brick staining, a breathable tint applied to individual bricks, to fine-tune color after the mortar cures. Good caps, flashing, and drainage details keep moisture from leaving uneven stains that pull the old and new sections apart visually.
Frequently Asked Questions
Can new brick ever match old brick perfectly?
An exact match is rare, but a close blend is very achievable. Brick color changes with clay source, firing, and weathering, so even one manufacturer’s product can shift over the years. A brickmason narrows the gap by matching size, texture, mortar, and pattern along with color. Most well-blended work becomes hard to spot once it weathers.
How long does it take for new brick to blend in?
New brick and mortar often start out brighter than the existing wall. The difference usually softens over months to a few years as rain, sun, and dirt weather the surface. Timing depends on exposure and the materials used. A sample panel helps you judge how close the match will look once it settles.
Should I use reclaimed brick for an addition?
Reclaimed brick can work well when it closely matches your existing wall. It already has an aged look and often comes from the same era as older homes. Quality varies, so check for cracks, stubborn old mortar, and soft units. Your brickmason can tell you whether a batch suits the exposure it will face.
Can new brick pavers match my existing brick patio?
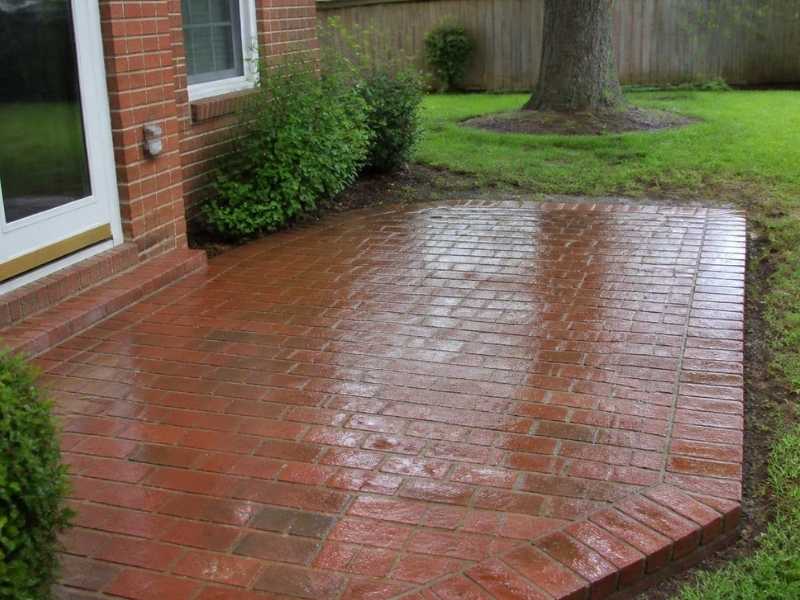
Often, yes, using many of the same steps as wall brick. Compare size, color, and texture, and look at full samples next to the existing brick patio in daylight. Pave brick is made for foot traffic and ground contact, so it may be a different product than wall brick even when the color is close. The base preparation, joint width, and laying pattern should match the original too.
What mortar should I use on an older brick home?
The right mortar depends on the brick’s age, hardness, and condition. Older brick often needs a softer, more flexible mortar than many modern mixes provide. Mortar that’s too hard can lead to cracked or spalling brick over time. A brickmason or a mortar analysis can help you choose a compatible mix.